
Hey, all! We’ve been cooking a TON over the past few months, and I have been horrible and terrible and not posted ANY of it! So, so bad and so selfishly full of good food, I am. I managed to snap a few pics of these amazing paleo lemon bars we made this weekend (actually, Dave did the work on these, I was just the happy chow hound), so here we go…

looks like a lemon bar… tastes like a lemon bar…
We don’t follow a paleo diet but we do enjoy sweets and I try to avoid gluten. These lemon bars seemed like a good compromise, and they turned out really well! I was surprised at how well they set up in the oven, and how tasty the crust was. The recipe also calls for 11 (eleven!?!*) eggs, so if you need another rationalizing point before you make a pan, they’re high-protein. A bit of honey replaces the traditional white sugar in the filling and crust, and coconut flour, almond meal, and coconut oil replace the flour.
DISCLAIMER: eat and store this dessert at room temperature. I refrigerated a single portion to bring with me to work today, and the texture was mushy. Eat. And store. At room temp. That is all.
Happy baking, and let me know what you think!
PALEO LEMON BARS
Adapted from The Primal Home
Ingredients:
- 1 cup almond meal: just grind up a cup of almonds in a blender until they form a flour
- 1 cup coconut flour (we used Bob’s Red Mill, available at most grocery stores- check the gluten-free and baking sections)
- 1/2 tsp freshly grated nutmeg or 1 tsp dried
- 1 tbsp honey + 1/2 cup honey– try raw honey. In addition to the health benefits raw honey provides, it’s easy to find; Archer Farms has a wildflower version that’s easy to pour and available at Target, and Whole Foods offers at least 3 kinds.
- 3 eggs + 8 eggs
- 1/3 cup coconut oil, melted
- 1/3 cup coconut milk
- juice from 6 lemons, strained for seeds
- 1 tsp vanilla extract
- 1/2 cup or more unsweetened shredded coconut to top
Directions:
This is a mix and dump recipe- first, the crust ingredients, then the filling. So simple. Preheat your oven to 350 and grease an 11×7 inch cake or baking pan with coconut oil. We used a slightly smaller Corningware dish and the recipe turned out just fine.
CRUST: In a large bowl, mix the almond meal, coconut flour, nutmeg, 1 tbsp honey, 3 eggs, coconut oil, and coconut milk. Combine completely and press into the bottom of the pan:

follow the fork marks
FILLING: then, in another large bowl (or the same one, cleaned out, if you’re dish-saving freaks like we are), combine the lemon juice, remaining 8 eggs, vanilla, and 1/2 cup honey. Whisk of this together well and pour over the crust, like so:
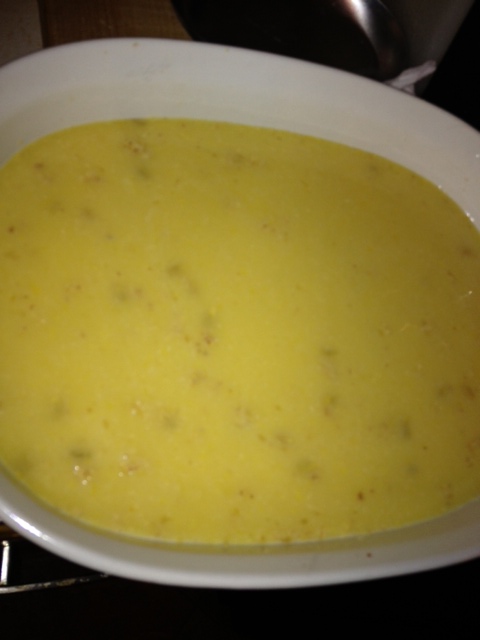
filling poured over the crust
Then toss into the oven and bake for 30-35 minutes until a toothpick inserted in the center of the bars comes out clean, and the topping is firm and fully cooked. Top with the shredded coconut, let cool, and serve, relatively guilt-free!

all done, cooling and topped with coconut!
*


